In this post we will see on how to scan the older Sql .bacpac files in Azure Storage Account and delete it if it reaches a certain retention period via Azure DevOps pipeline.
We use PowerShell script which does all the heavy lifting for us and schedule it in Azure DevOps with few steps. We will use Azure DevOps classic editor to list the tasks and run the PowerShell script.
Table Of Contents
- Script Walk through
- Setup Release Pipeline
- Conclusion
Script Walk Through
Let’s call the PowerShell function/script as Remove-AzureSqlBacPacFiles which takes an argument for parameter $RetentionPeriod. You can pass the date of .bacpac files you want to delete in number of days to $RetentionPeriod variable.
Let’s break the scanning process into smaller steps and pen it in the script.
- Specify the retention period (This decides on how many days older files has to be removed)
param (
    [Parameter(Mandatory = $false, Position = 0, ValueFromPipeline = $true, ValueFromPipelineByPropertyName = $true)]
    [ValidateRange(1,180)]
    [int] $RetentionPeriod = 15
)
- List all the storage accounts and iterate through it
$storageAccounts = Get-AzStorageAccount
- Get storage account
SASkey and access the containers
$storageAccountKey = (Get-AzStorageAccountKey `
                    -ResourceGroupName $storageAccount.ResourceGroupName `
                    -Name $storageAccount.StorageAccountName).Value[0]

$context = New-AzStorageContext `
            -StorageAccountName $storageAccount.StorageAccountName `
            -StorageAccountKey  $storageAccountKey

$containers = Get-AzStorageContainer -Context $context
- Scan for
.bacpacfiles in all the available containers and remove the files which are older than retention period
foreach ($container in $containers) {
    Write-Verbose "[$(Get-Date -Format s)] : $functionName : Working with Storage Account Container $($container.Name).."

    $blobs = Get-AzStorageBlob -Container $container.Name -Context $container.Context | Where-Object { $_.Name -like "*.bacpac" }

    if ($blobs) {

        foreach ($blob in $blobs) {

            if ((Get-Date "$($blob.LastModified.ToString().Split()[0]) $($blob.LastModified.ToString().Split()[1])").Date -le (Get-Date).AddDays(-$RetentionPeriod).Date) {

                Write-Verbose "[$(Get-Date -Format s)] : $functionName : Deleting old bacpac file $($blob.Name).."

                Remove-AzStorageBlob -Blob $blob.Name -Container $blob.ICloudBlob.Container.Name -Context $context -Force
            }
        }
    }
}
- Complete script here
We have enabled verbose so that we can see the script flow in Azure DevOps logs.
Setup Release Pipeline
Now it’s time to setup the release pipeline and schedule the script.
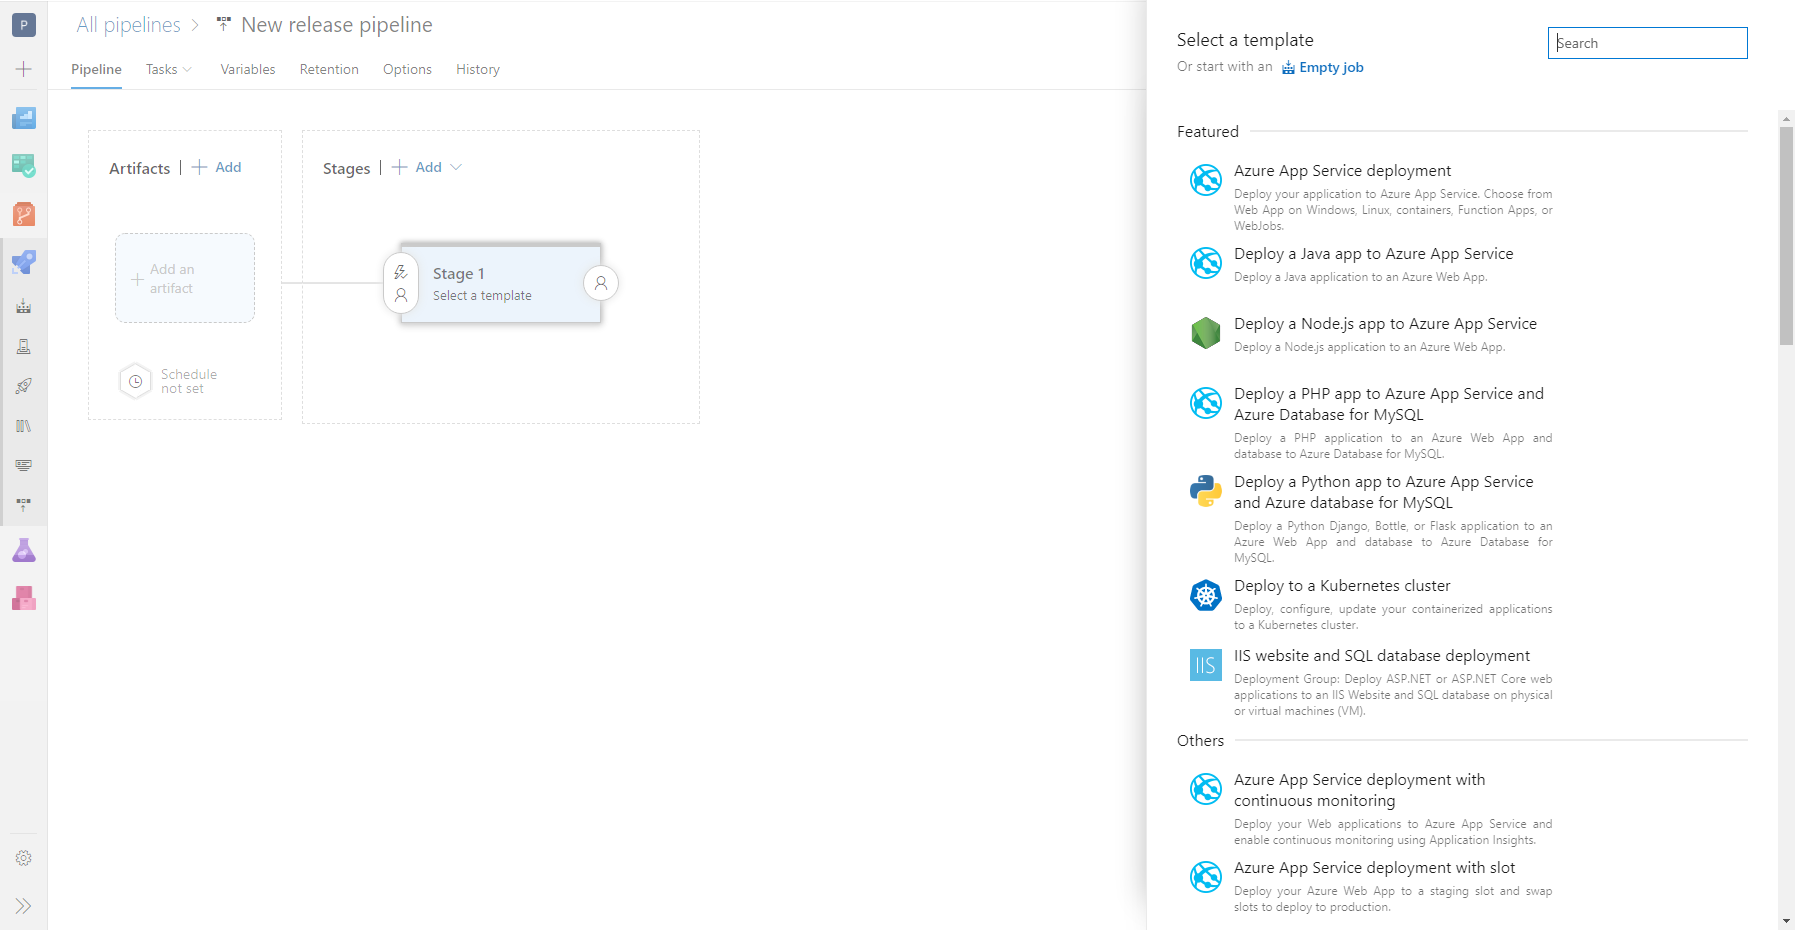
- Navigate to Releases in Azure DevOps pipelines and click on
Newand selectNew release pipeline, you will see a window similar as below.
- Click on
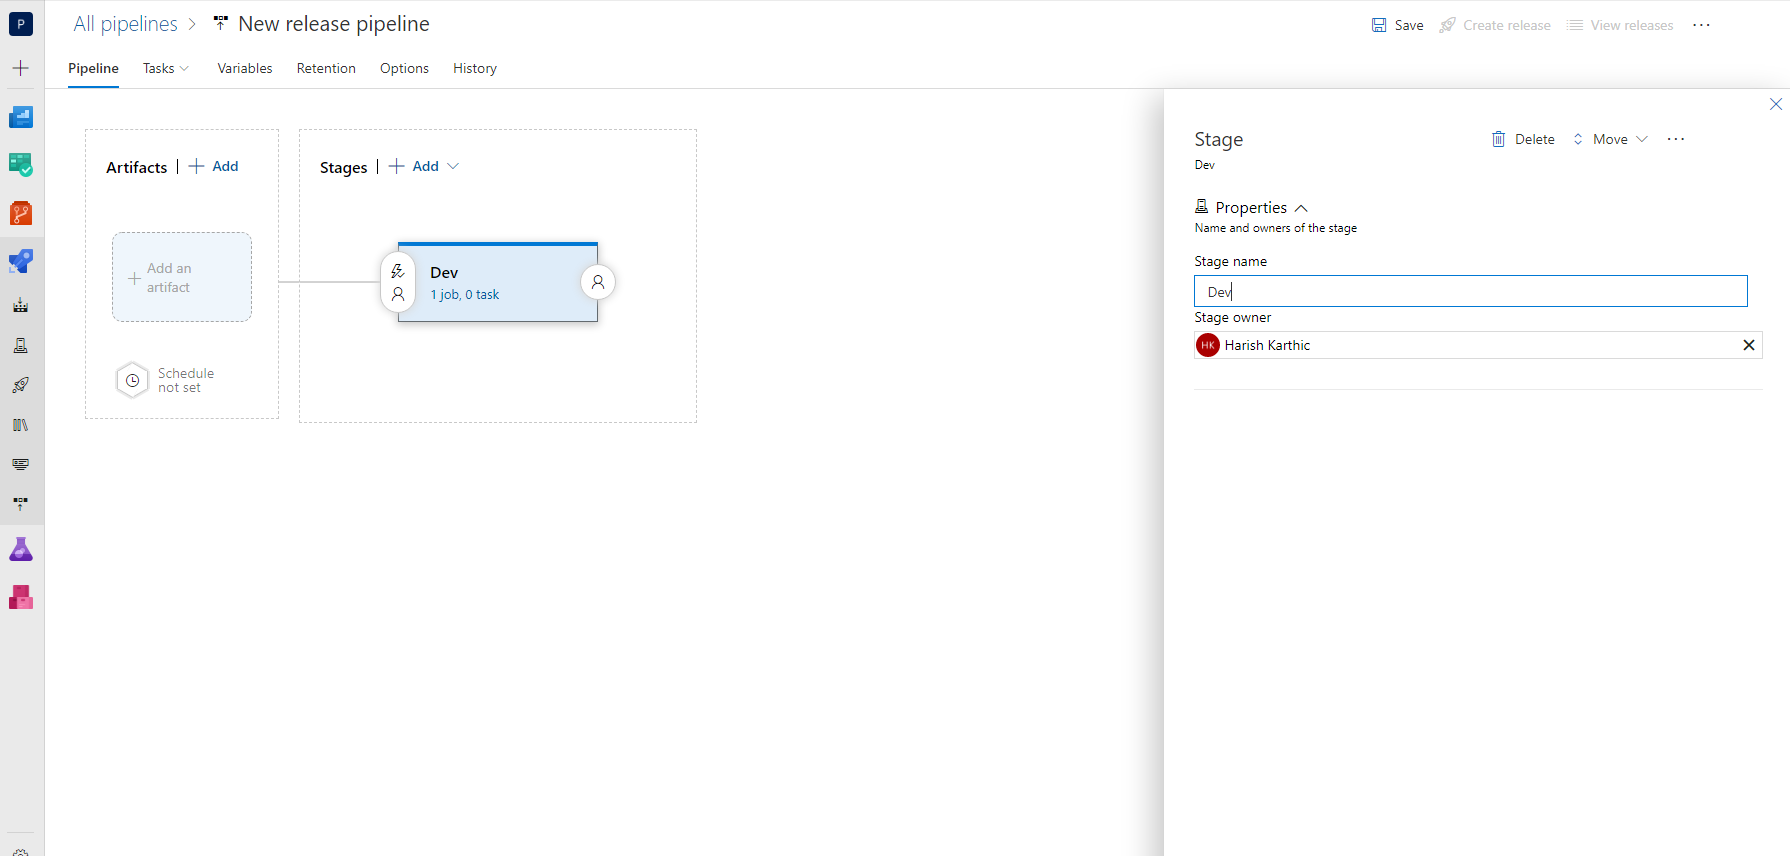
Empty Joband name the environment in which you need to implement the action. For this post let’s name the stage as Dev.
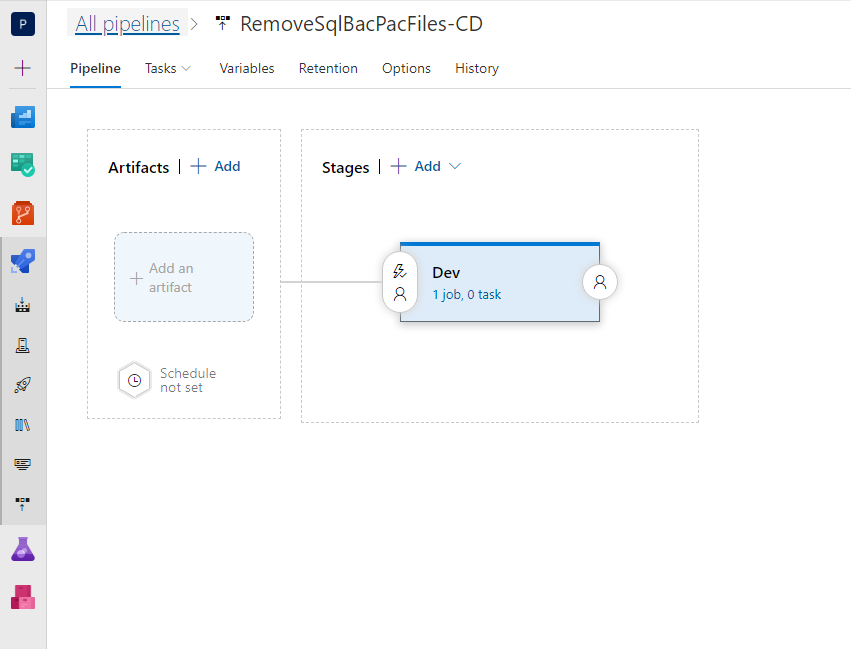
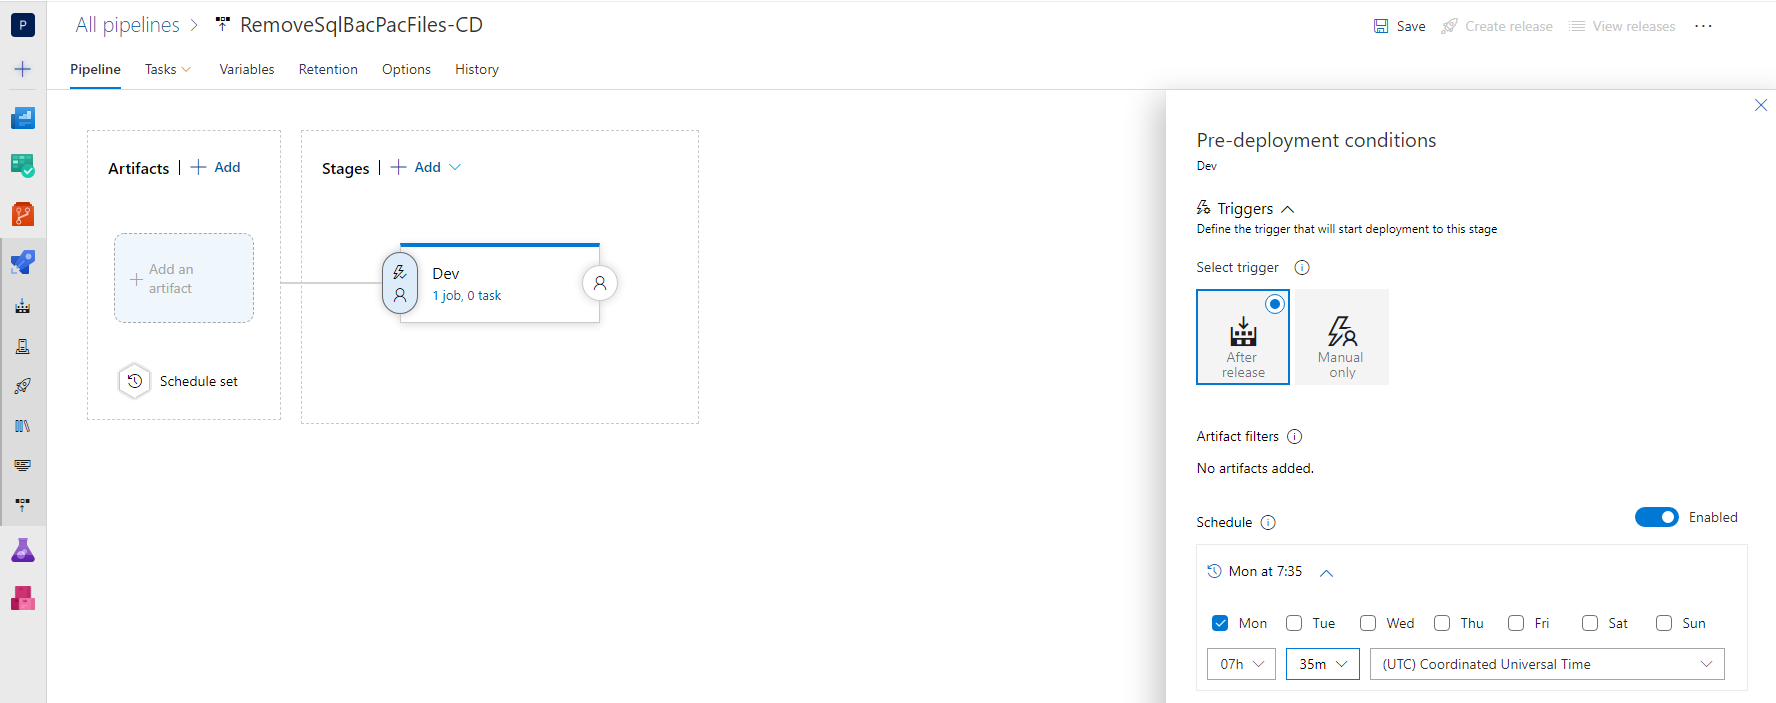
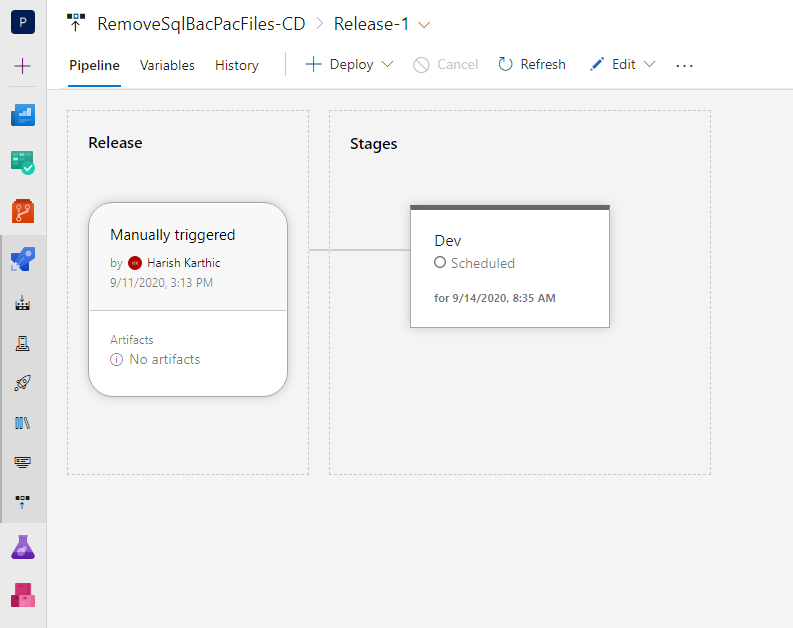
- Now that we have to schedule the release pipeline and enable trigger settings for the stage. This will automatically create a release at scheduled time and trigger’s the stage/s enabled. Rename the pipeline of your choice, for this post let’s keep it as
RemoveSqlBacPacFiles-CD.
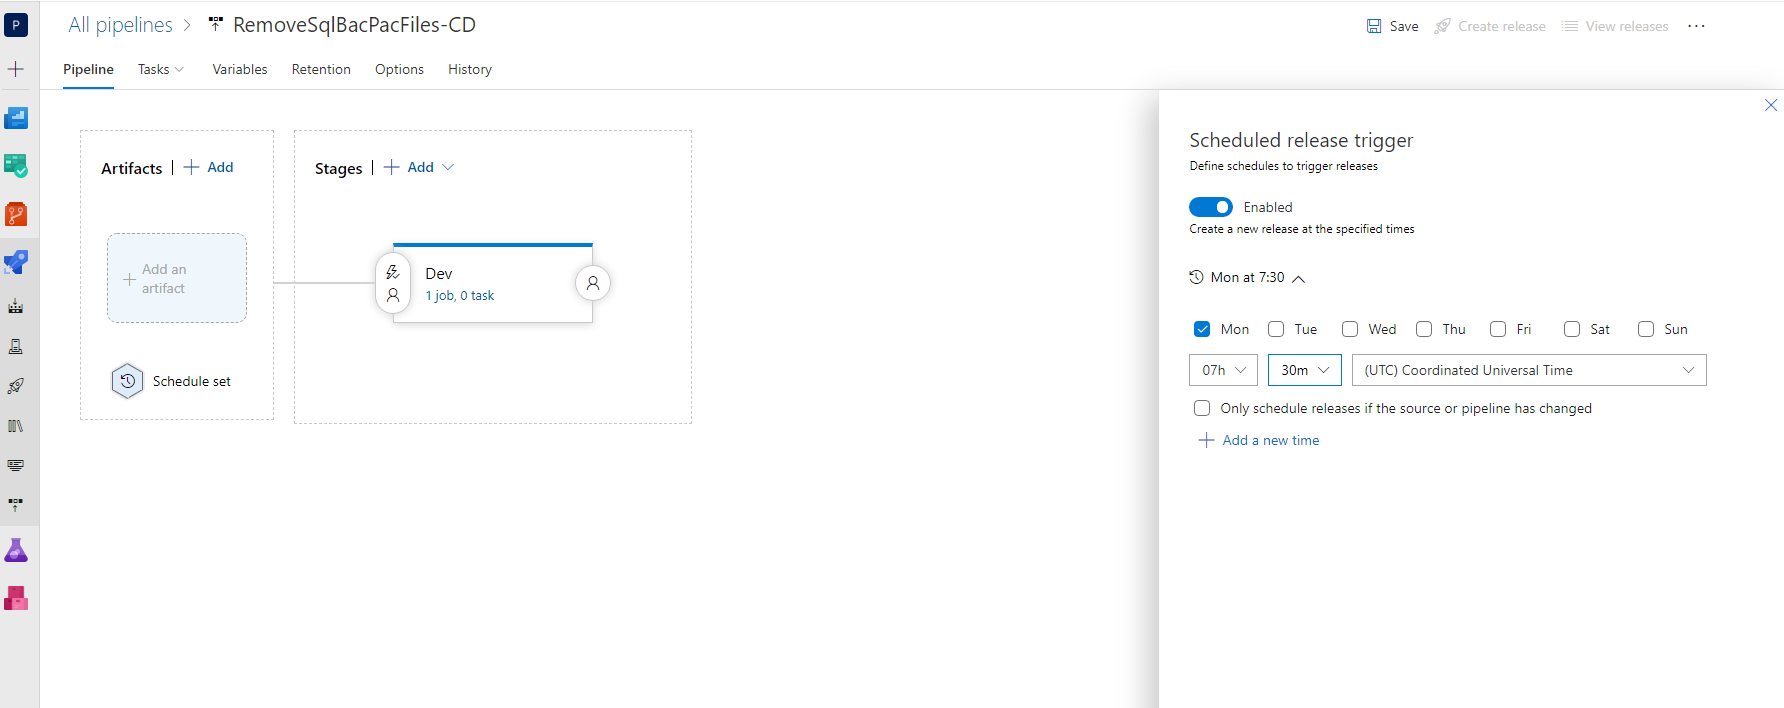
- Say that our pipeline should run on every Monday morning 7.30 AM, we have to enable below settings in schedule
- Now let’s enable the release trigger with 5 minutes delay, this gives our stage some buffer time to prepare once the release is created.
- Click on tasks in
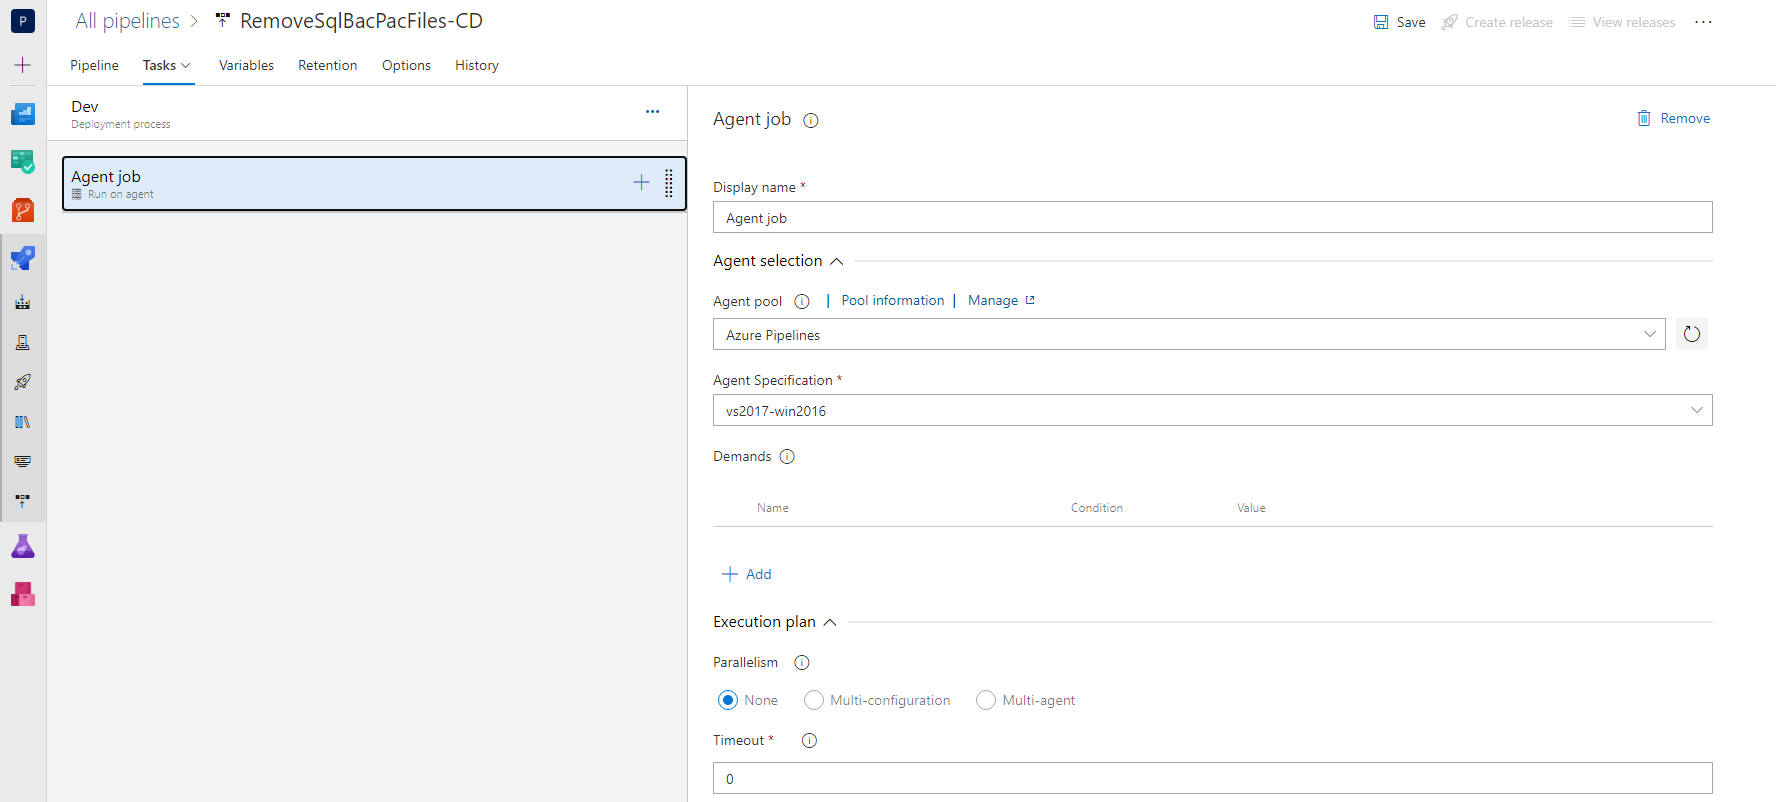
Devstage and click on+inAgent Jobtab to add Azure PowerShell task.
- Select
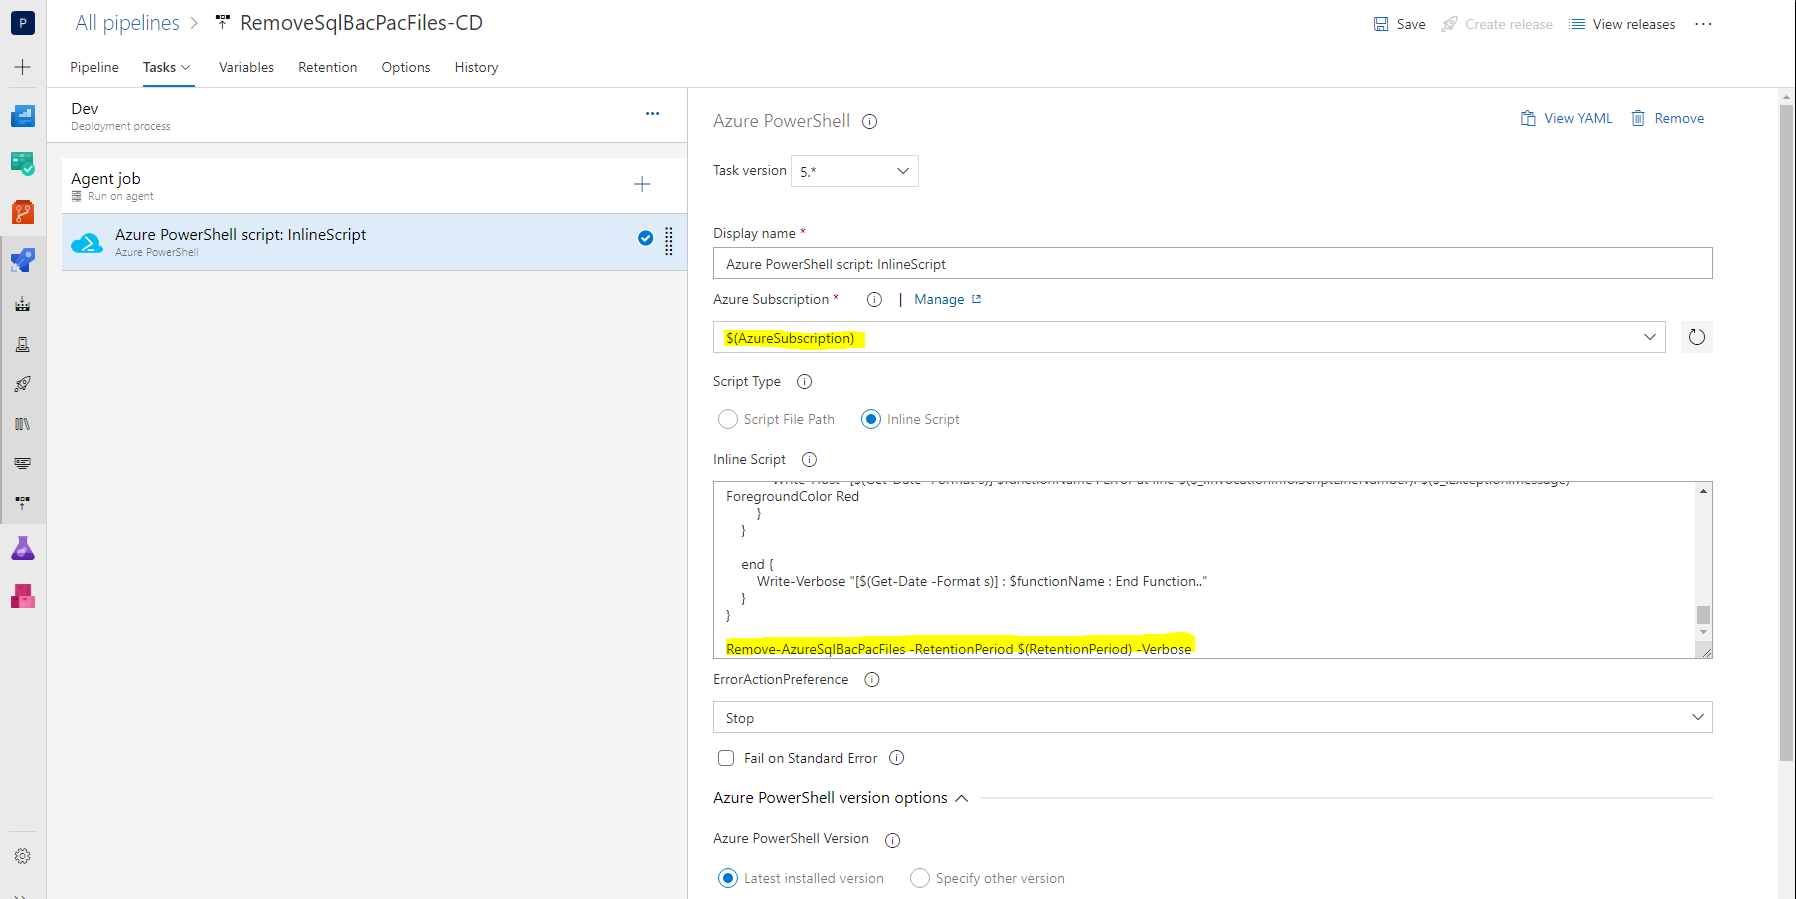
Inline Scriptin the task and paste the script. You can also upload the script inAzure Reposand refer the path of script in the task.
- Click on
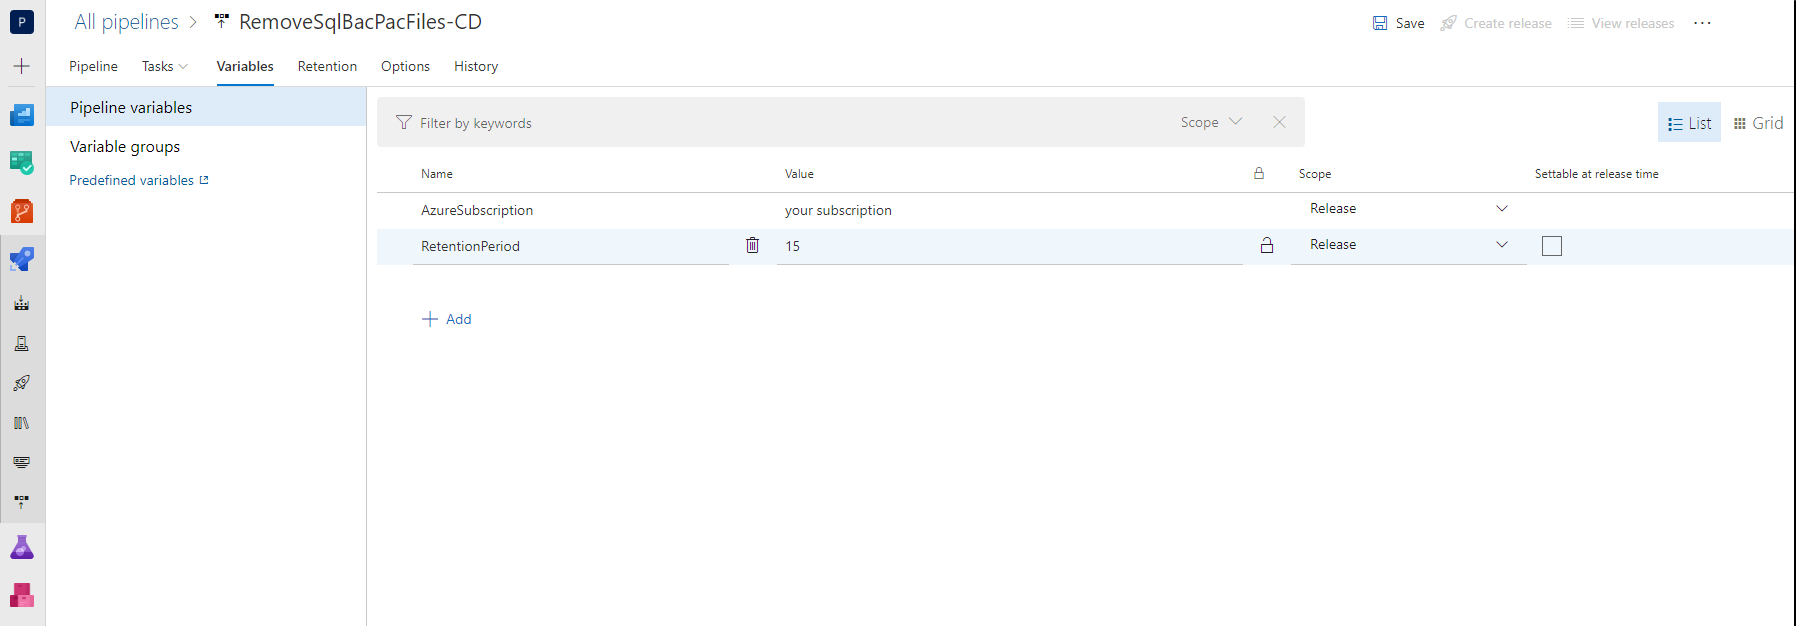
Variablestab and add yourSubscriptionname andRetentionPeriodparameter there. You can refer the screen shot above to know on how to refer pipeline variables. This way we can change the retention period whenever necessary without modifying the script. You can also save the variables in library and link it in the variable groups.
- Click on
SaveandCreate Release. Now that our task is ready to deploy. Click ondeployto test the pipeline.
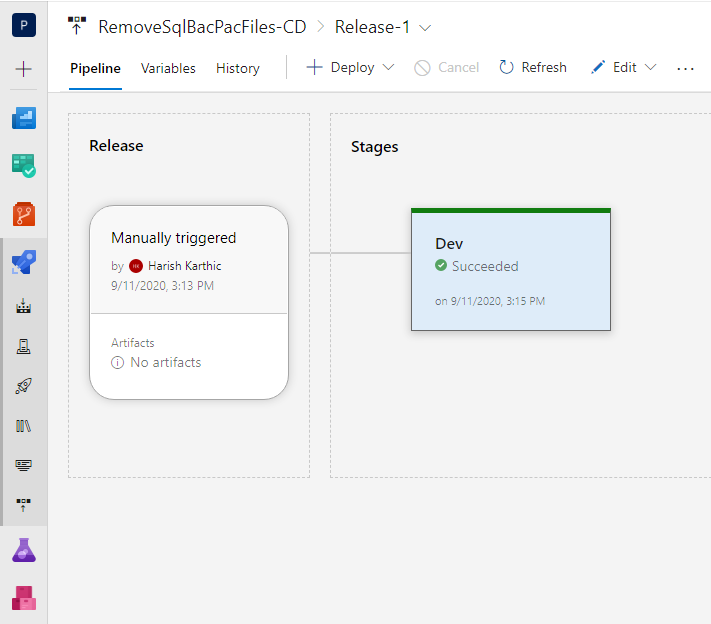
- On successful execution you will see as below.
Conclusion
You can add multiple stages for each subscription, each environment and schedule it. This way you can remove all the older .bacpac files which are lying in the storage account and ultimately save some cost.

