Sometimes we may need to analyse the http logs in Azure WebApp to know the incoming requests and http error codes. Since the logs files usually are overwritten we tend to miss some of the significant logs. We can run query in Log analytics workspace and find out most of the details but what if there aren’t any logs that are relevant to the issus that we are looking for is not in log analytics database? this is where we rely on http logs. Downloading the logs from SCM or KUDU and analysing each line is a time consuming task and we may miss few log entries too.
This is a tedious task if we have to do it for multiple subscriptions and more frequently. This is where we need automation and our PowerShell magic to get the work done for us. We will walk through the script and setup CI pipeline to download and analyse http logs.
Table Of Contents
- Script walk through
- Setup CI pipeline in Azure DevOps
- Download and view report
- Closing
Script walk through
The requirement is divided into two sections,
- Data extraction
- Data analysis and visualisation (precisely report generation)
In the data extraction section we download the logs from SCM API and in data analysis section we analyse, segregate the logs and generate the report.
- In the first section we’re fetching the details of web app and publishing profile of that web app, this way we will get the credential to access the SCM API. Once we have necessary details we’re calling the API and downloading the present day’s log(s).
- In data analysis, we’re separating out the section that is required. First things first, we’re getting all the files from the current path and skipping first two lines as we don’t want the headers and extracting the needed contents. This script is intended to run in pipeline once the logs are downloaded. Now we can extract the report and save it as
htmlorcsv.
- Generate a html report from the LogParser results. We’re going to use
PowerShell Proxy functionofConvertTo-Htmlcmdlet and name it asExport-Htmland add add inBootStrapURI to make the report prettier.
- Export the results to report
LogParser | Export-Html -FilePath "$($PWD.Path)\Report.html" `
-Head "ERROR CODE DETAILS" `
-PreContent "SERVER/BROWSER ERRORs"
- Here is the complete script to incorporate in the pipeline.
Setup CI pipeline in Azure DevOps
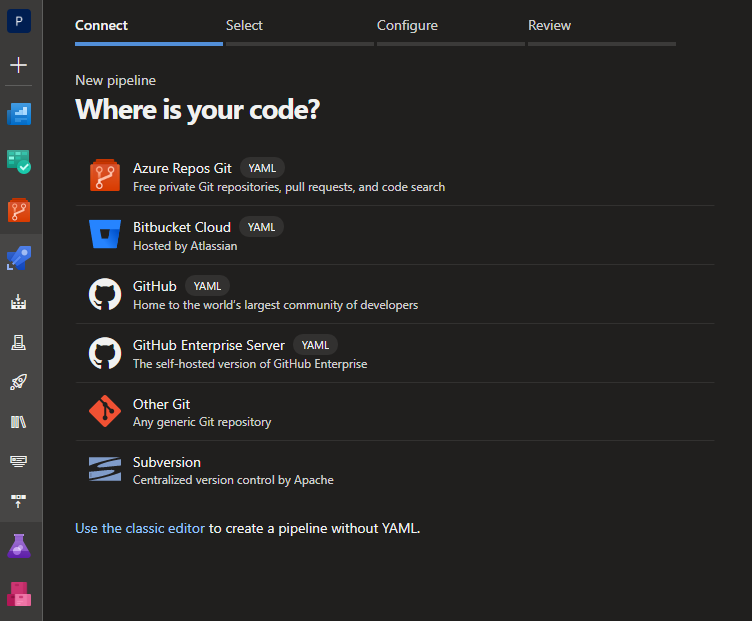
- Navigate to Pipelines section and click on New pipeline
- Click on
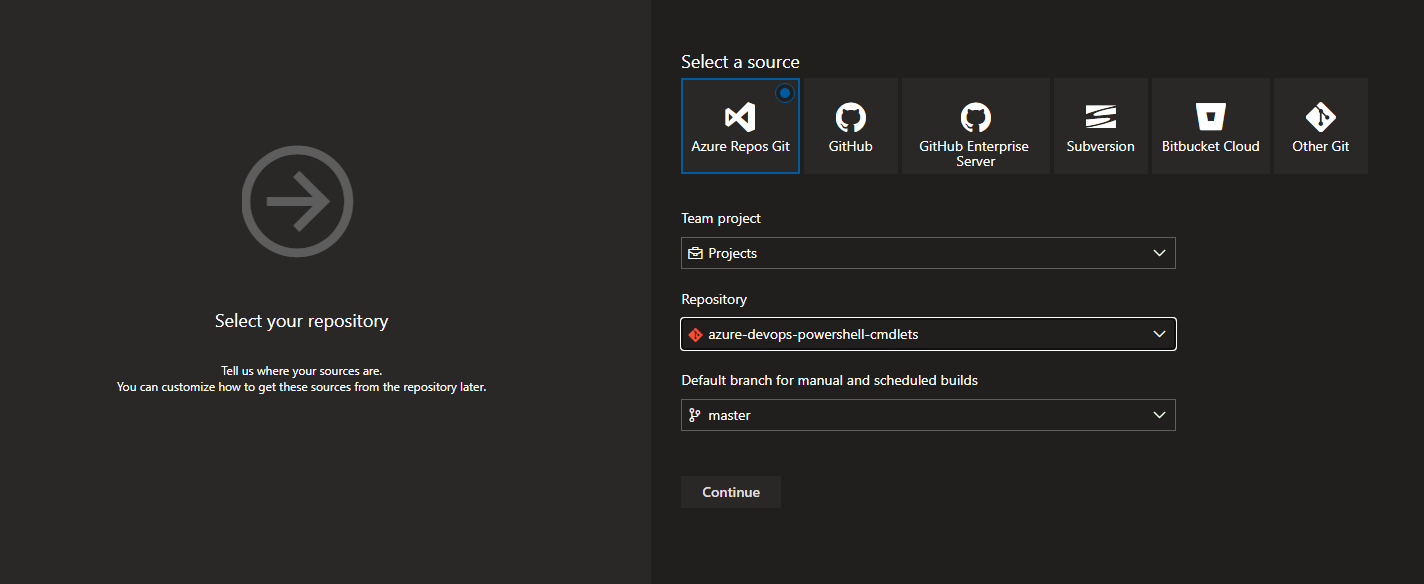
Use the classic editorat the bottom and select the source code repository where you have placed the script (You can opt to create YAML CI also). In this example I’ve chosen Azure Repos Git as my source code repository.
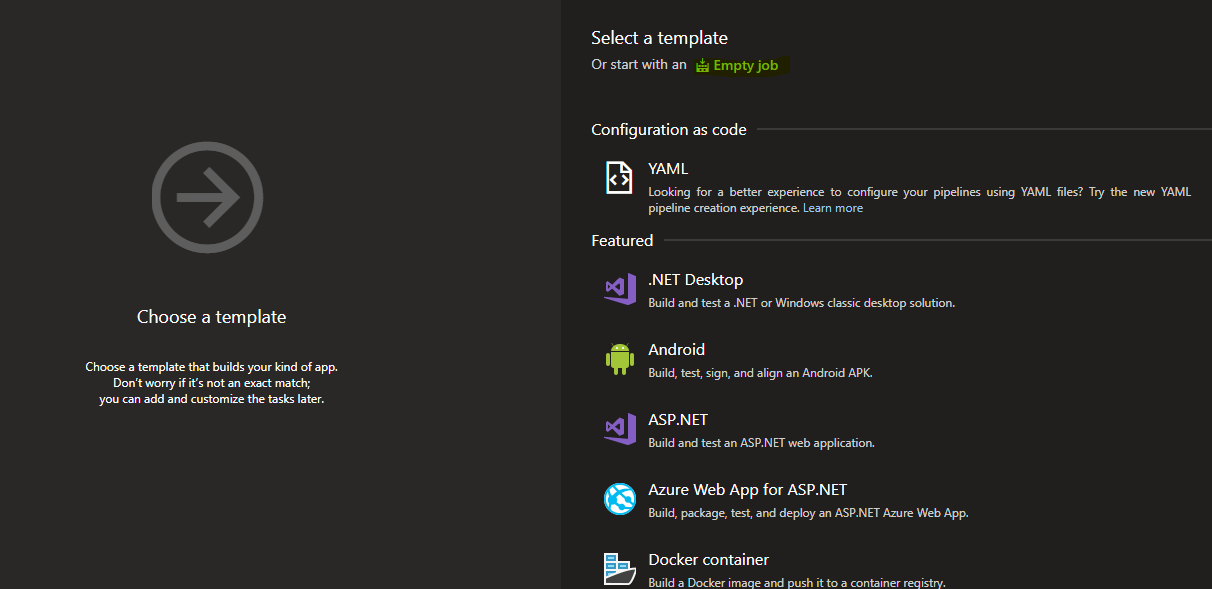
- Click on
Empty job
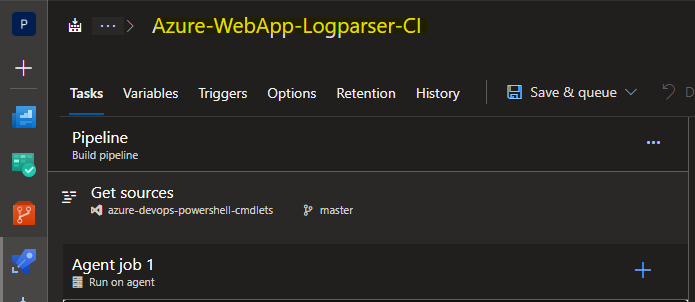
- Rename the pipeline of your choice.
- As mentioned earlier we’re going to divide our requirement into two sections in the pipeline. To achieve this we’ve to add two tasks
- Data extraction (download the logs)
- Data analysis and visualisation (Parse and generate report)
We will add two
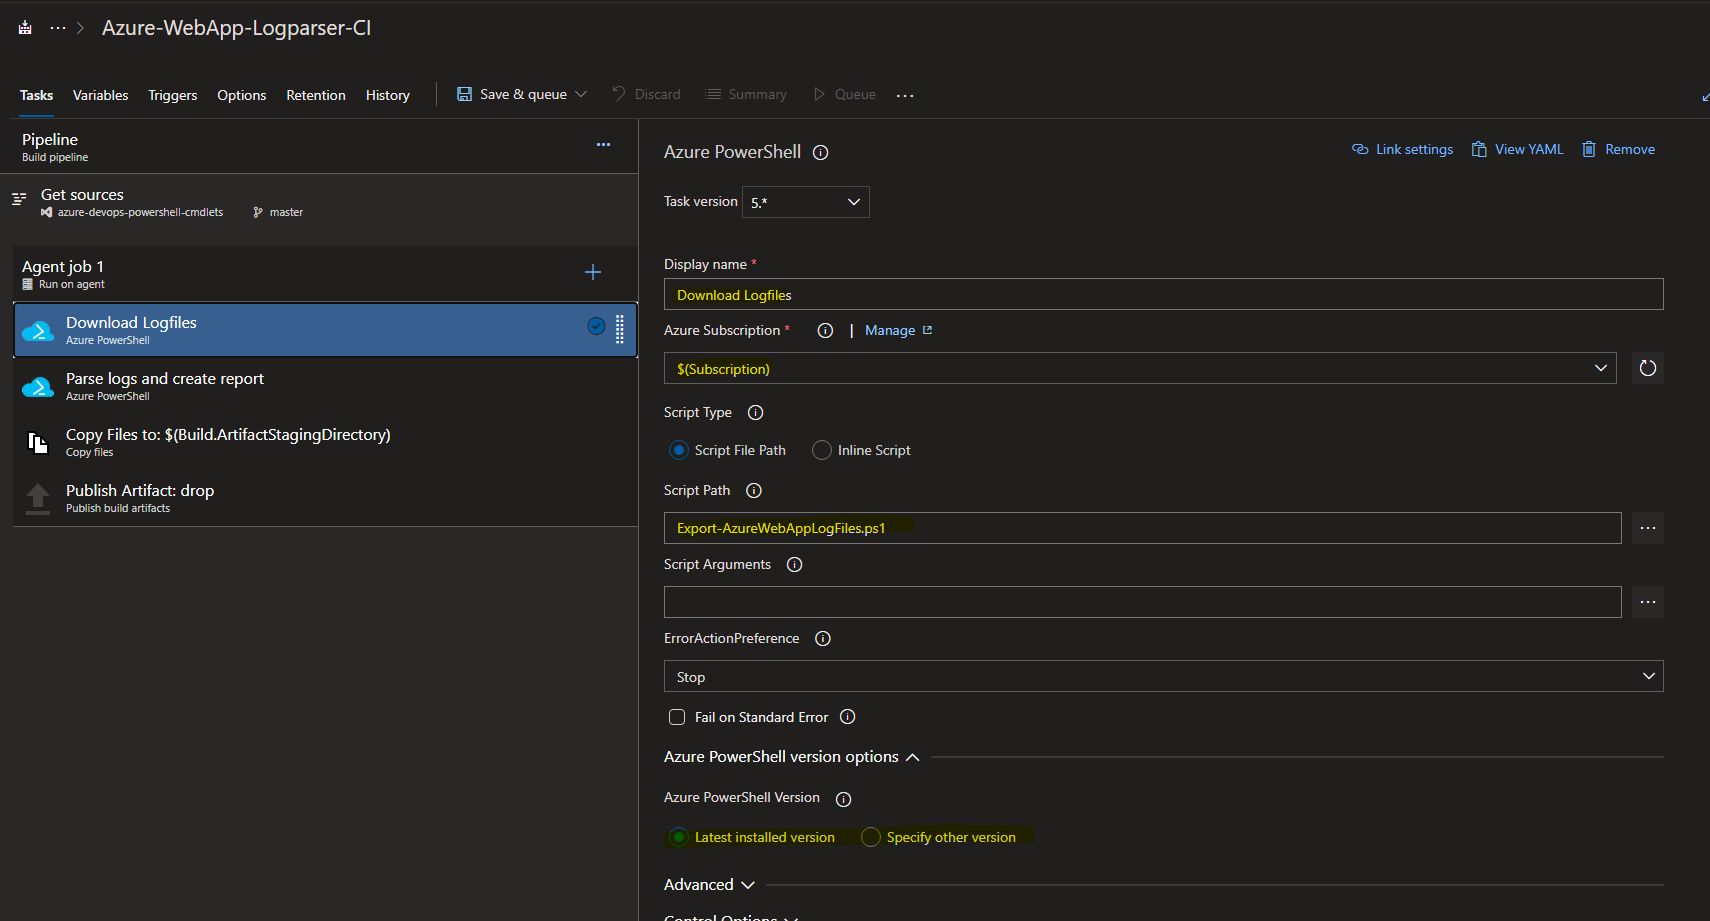
Azure Powershelltasks to separate the concerns. - First task is to download the logs, so we need to run Export-AzureWebAppLogFiles to achieve this. Copy the function to a script file and point the path in the
Azure Powershelltask. Make sure to rename the task, select the appropriate subscription where your webapp is created, script file path and the version of PowerShell you would like to use (set it to latest).
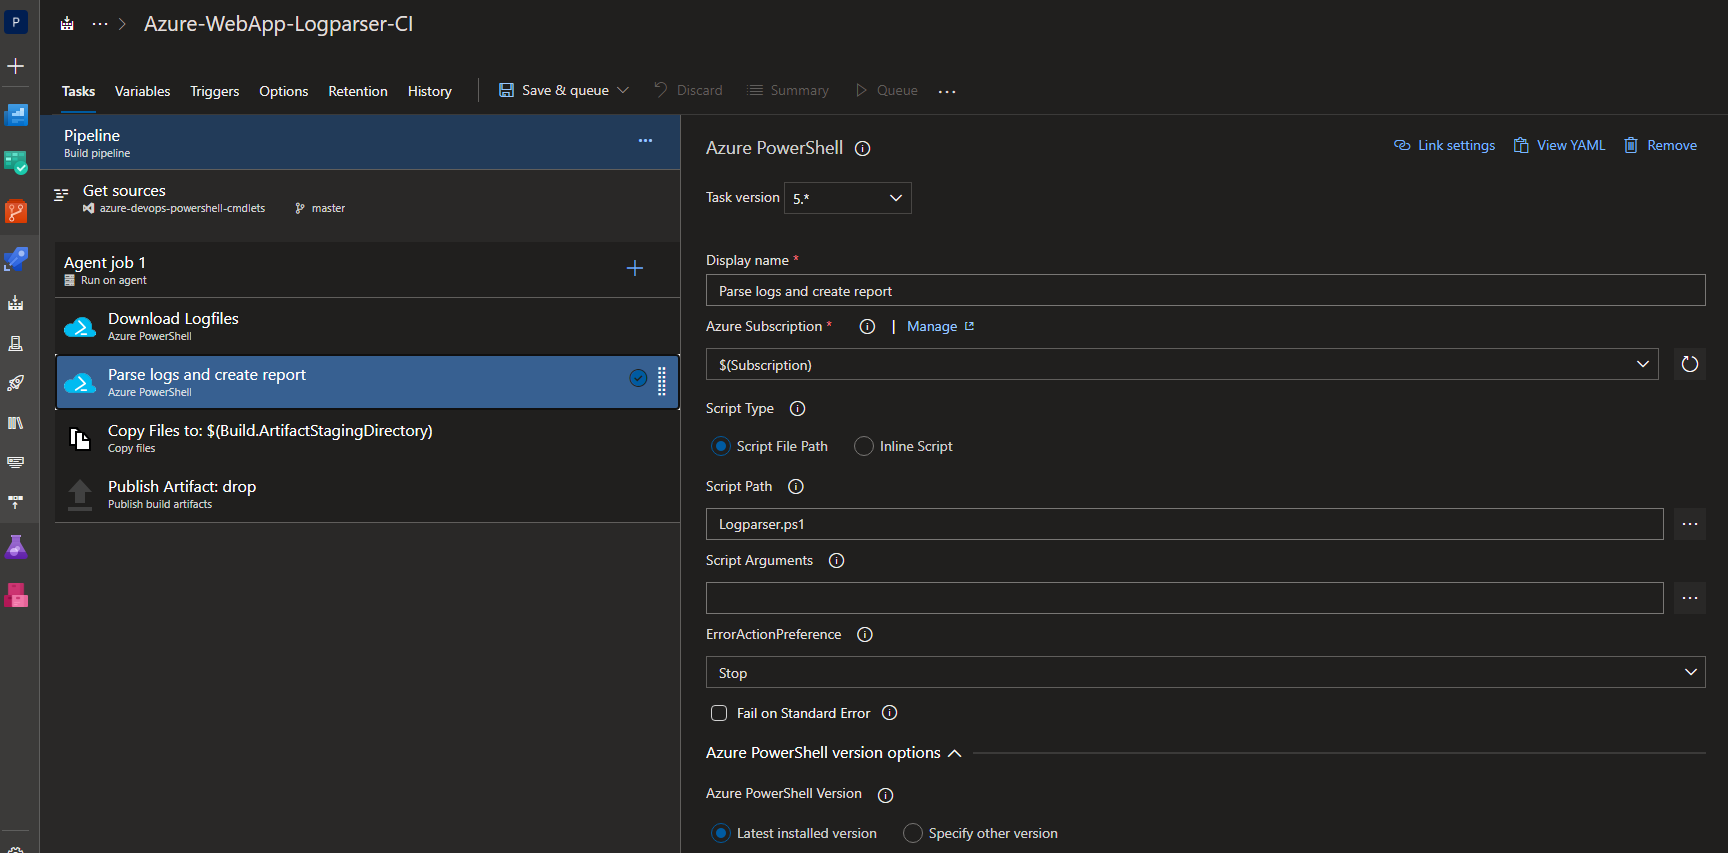
- Similarly fill in the details in next
Azure Powershellwhich is to parse the logs and generate report
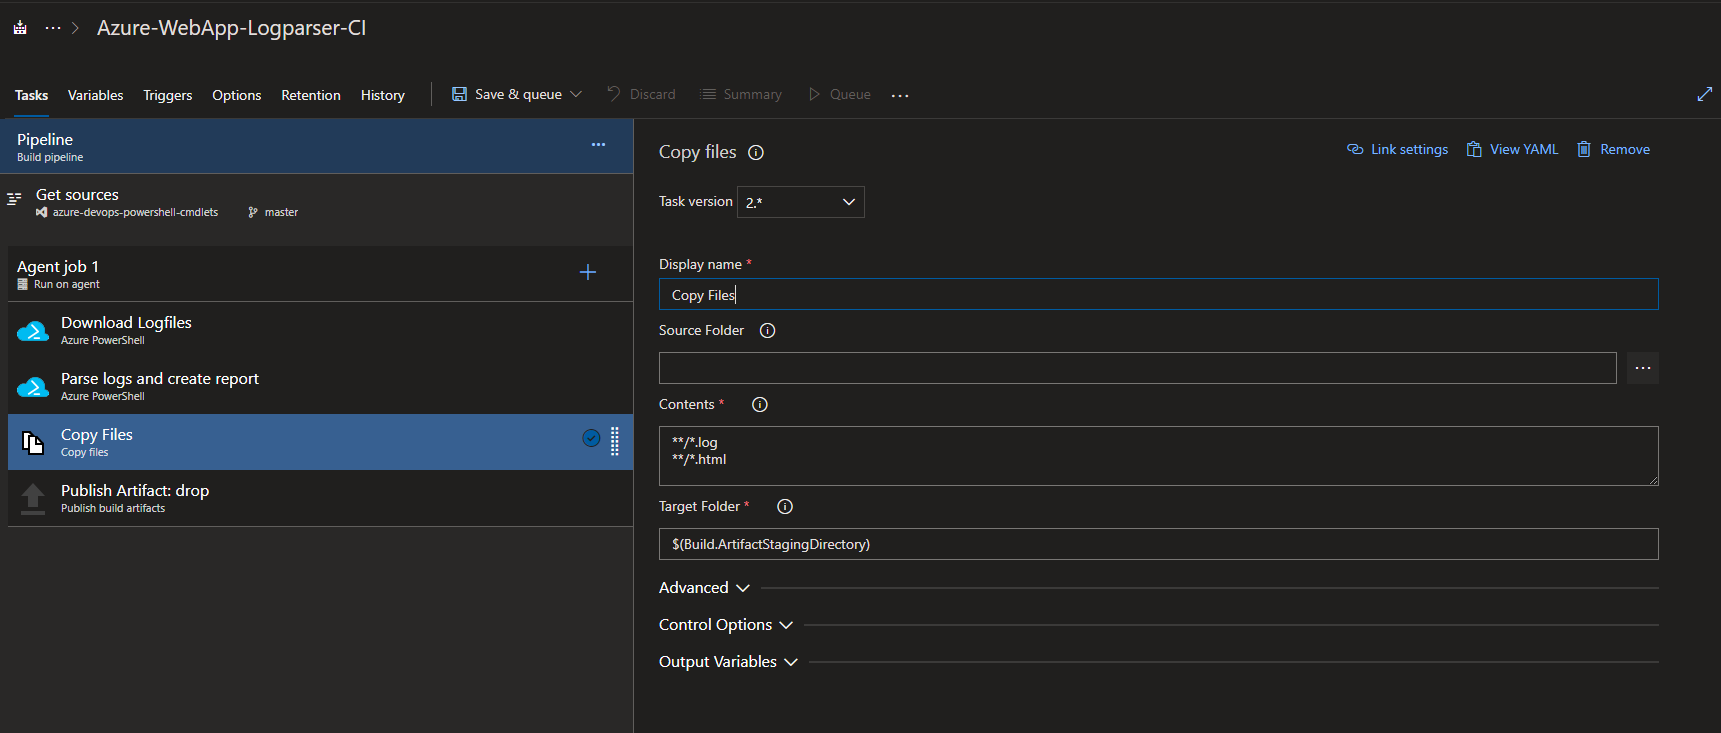
- Add
Copy Filestask to copy the downloadedlogsand generatedhtmlreport toStaging Directory.
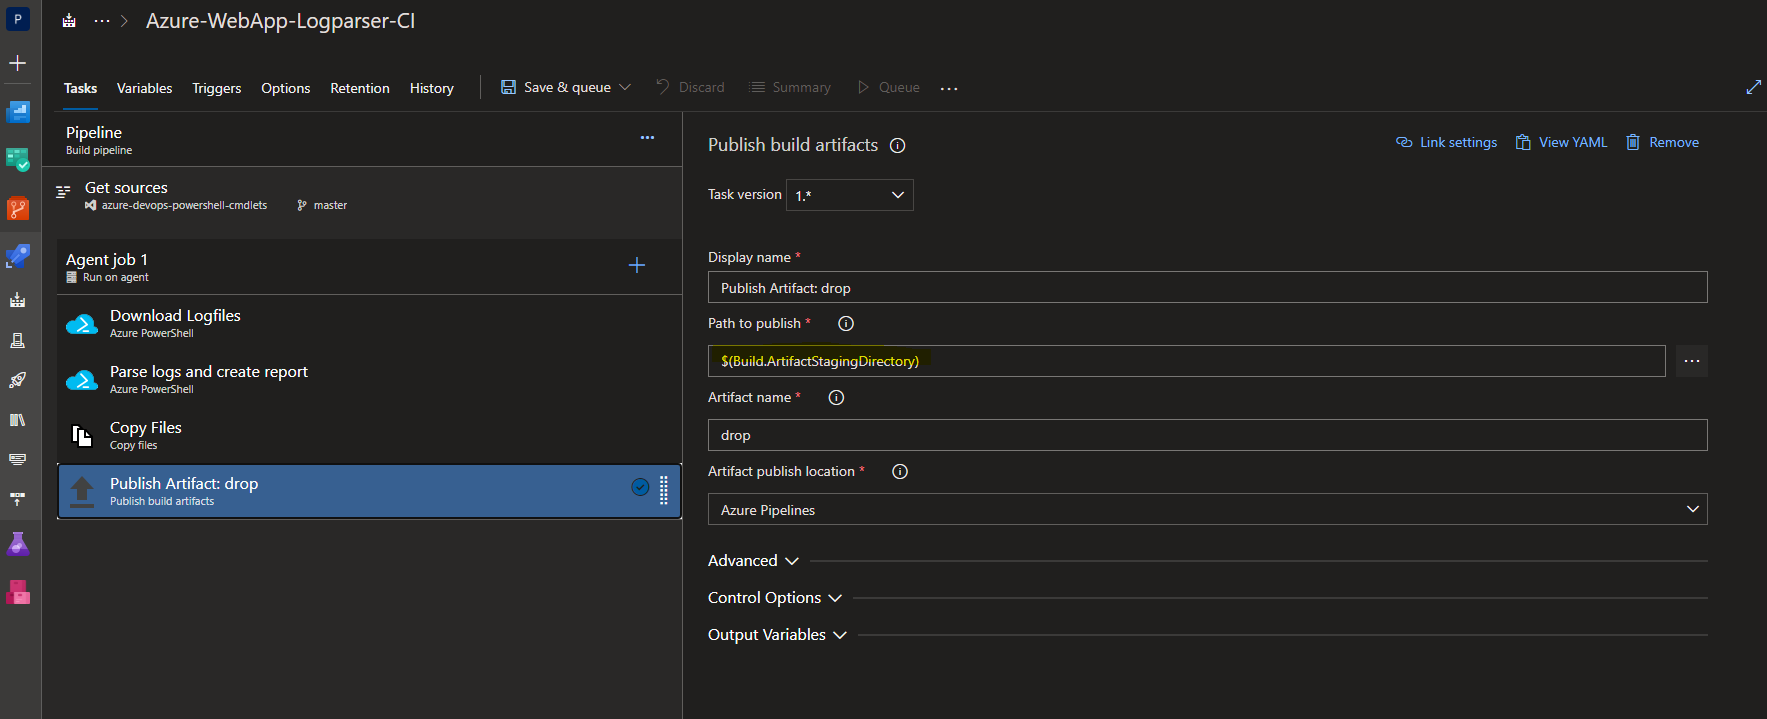
- Once the files are copied to
Staging Directorywe can add one more task to publish it to the artifact to download the report.
- Now, click on Save & queue to save the changes and trigger the pipeline.
Download report
Once the pipeline ran successfully, click on the job to view the summary. You can download the report from the published artifact by clicking the Report.html.
Closing
There are few ways to download and analyse the logs and one such way is using the Azure DevOps CI pipeline, you can also use Azure Automation Account to achieve this and place your report in Storage Account. Then it can be shared with anyone to download from the blob container or view the report by sharing the URL after enabling Static Site Content for that Storage Account. Make sure to tweak the script accordingly if the http logs headers are different in your environment. Happy scripting.

